|
|
Do It Yourself Stainless Steel Motor Mounts Kits |

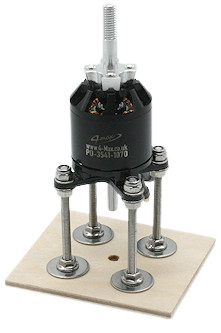
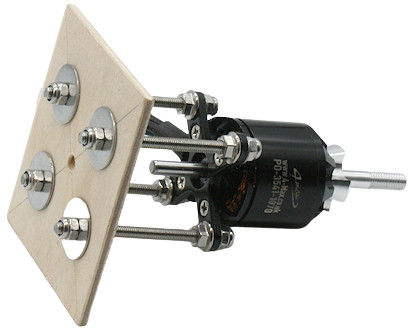
These mounts are extremely strong and very ridged once fully assembled and all nuts tightened securely.
 
An example of the assembled DIY motor mounting kit
(motor and wood not included)
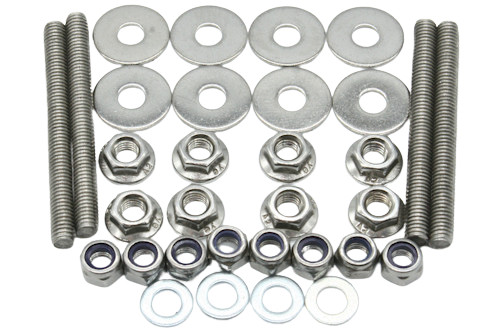
Each kit consists of the following
4x Stainless Steel Threaded Rods
8x Stainless Steel Large Penny Washers
4x Stainless Steel Standard Washers
8x Stainless Steel Serrated Flange Nuts
8x Stainless Steel Nylon Locking Nuts
Assembly
- Use the "X" mount that comes with the motor to mark the 4 holes to drill in the firewall/former.
- Accurately drill the 4 holes.
- Pass a threaded rod through the freshly drilled hole in the firewall.
- From the back of the firewall install a penny washer and a nylon lock nut. Ensure a small amount of threaded rod exits the nylon lock
nut.
- From the front of the firewall, install a penny washer and a flanged nut (flange against the penny washer)
- Repeat for the other 3 threaded rods
- Now install a flanged nut with the flange facing forwards roughly at the required distance from the firewall.
- Repeat for the other 3 threaded rods.
- Install the "X" mount on the motor using the correct screws supplied with the motor.
- Install the motor and "X" mount assembly onto the 4 threaded rods.
- Install a small washer and then a nylon lock nut on each of the 4 threaded rods to hold the motor assembly in place.
- Adjust so the desired stand off distance from the firewall is obtained.
- Tighten all nuts securely
Suggested Sizes
Motor Diameter |
Threaded Rod |
| 28mm |
M3 |
| 35mm |
M4 |
| 50mm |
M4 |
| 63mm |
M5 or M6 |

|
When selecting the length please add 15-20mm to allow for the rods to go through the firewall and motor X mount and for the nuts to be
fitted
|
| |
|


